
Co-Signer Server Configuration Requirements
Co-Signer Deployment Process
Obtain Co-Signer
- Regular Version
- Run the program to download
- Modify the program’s executable permissions
- SGX Version
1
Purchase Microsoft Azure SGX Server
For Microsoft Azure SGX servers, please refer to the documentation:https://learn.microsoft.com/zh-cn/azure/confidential-computing/virtual-machine-solutions-sgx
2
Install ego Environment
3
Create a working directory
4
Switch to the working directory
5
Download the program
File address: https://github.com/Key-secure/mpc-co-signer/releases, select version co-signer-linux-(version), please follow the subsequent steps to compile and package using ego.Note: Support for SGX is available after v1.1.0.
6
Add the configuration file enclave.json in the working directory, with the following content
7
Re-sign and package to obtain a runnable SGX executable program
Running Co-Signer
To view the help for the executable program:co-signer -h. The result is as follows:
1
Create a Folder in the Same Directory as the Executable Program
2
Add Configuration File in the conf Directory, File Name: config.yaml
Configuration file content as follows:
3
Configure the Rsa Private Key Used by Co-Signer
Method One: Co-Signer Generates Rsa Public and Private KeysAfter executing the above command, enter the Co-Signer startup password as prompted. After successful execution, the keystore.json file is generated/updated in the conf directory.The private key is used to encrypt request parameters when requesting Keysecure service, and the corresponding public key needs to be configured to system. System uses this public key to decrypt Co-Signer request data.Method Two: Client Generates Rsa Private Key and Imports into Co-SignerAfter executing the above command, enter the Co-Signer startup password as prompted. After successful execution, the keystore.json file is generated/updated in the conf directory.The private key is used to encrypt request parameters when requesting Keysecure service, and the corresponding public key needs to be configured to Keysecure. Keysecure uses this public key to decrypt Co-Signer request data
4
Configure public key for Co-Signer
5
[Optional] Configure the Public Key Used for Sign Verification (sign) When Co-Signer Does Not Callback the Client System
- Example of Shell Script for Starting the Program
- Complete initialization after startup
1
Verification and next steps
👉 After the Co designer completes configuration and successfully starts, the service is still in an uninitialized state. Please go to the APP to perform the private key refresh operation. The service can only be used normally after completion。
2
Log in to the APP for Configuration
Log in to the APP, and choose Co-Signer to start configuration after entering the security page.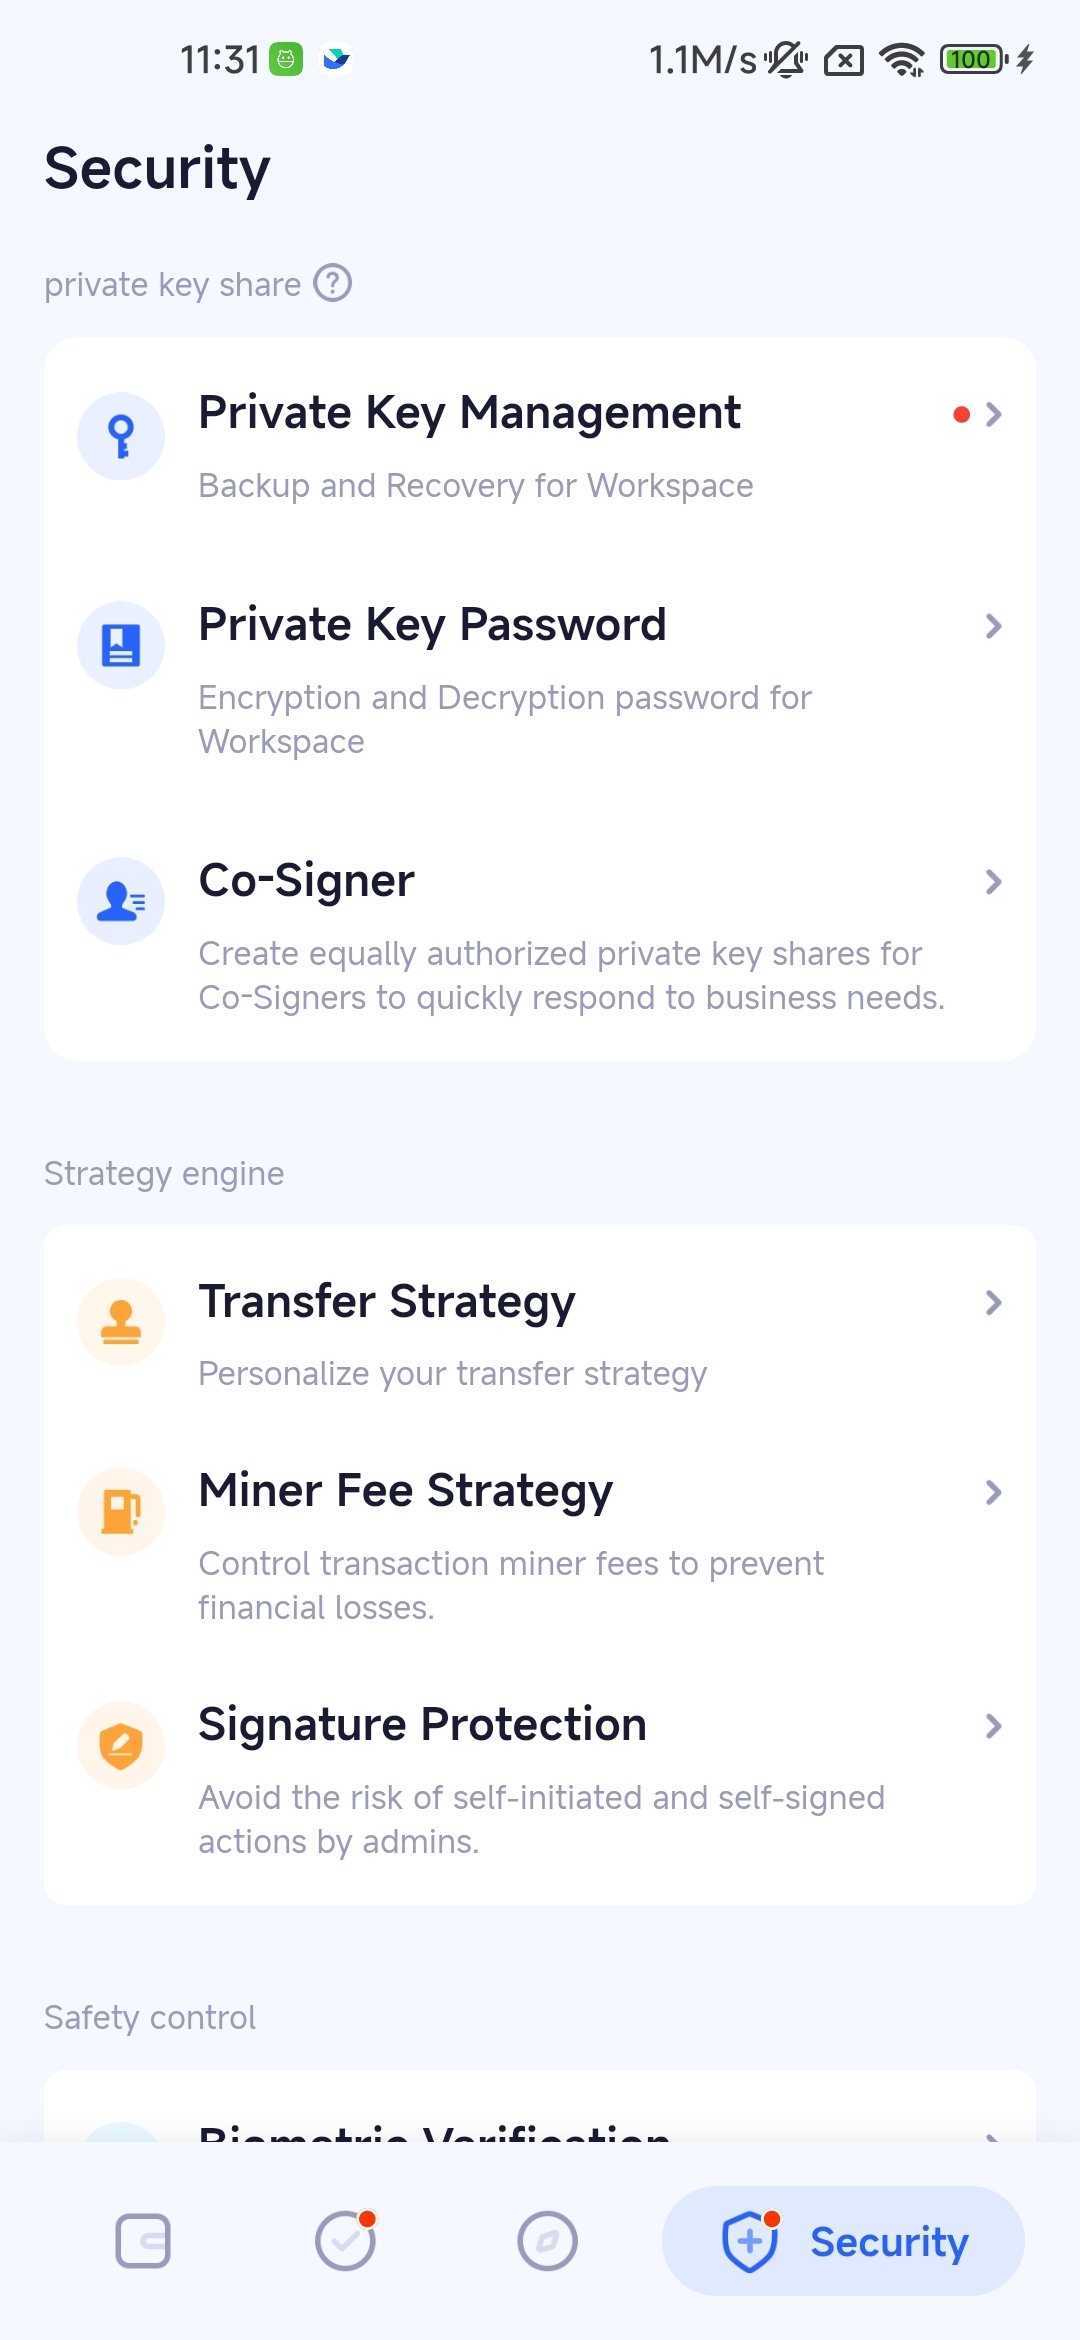
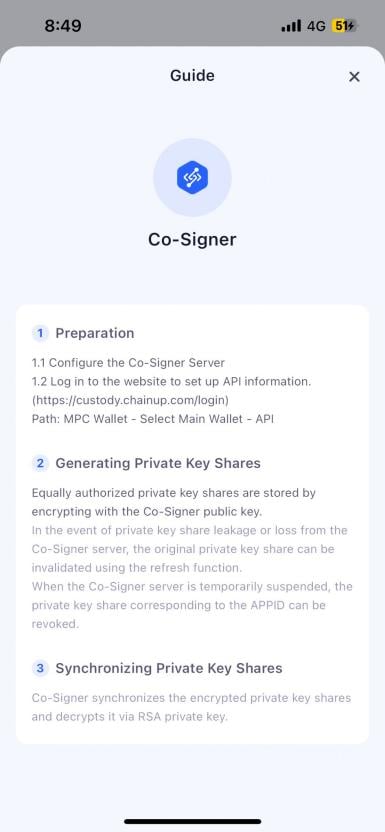
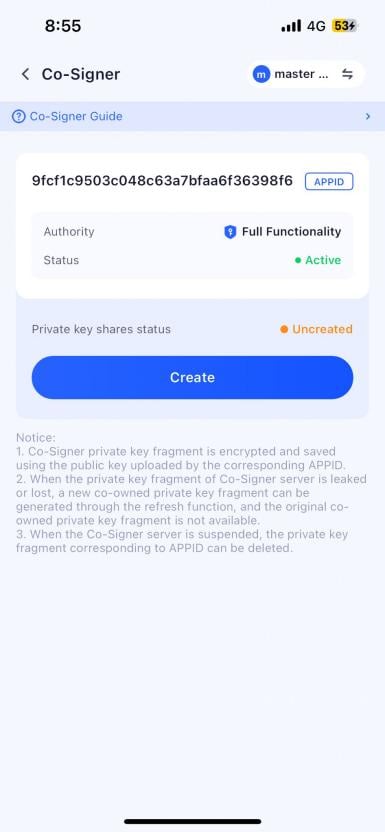
Co-Signer Quick Deploy Script (Recommend)
Keysecure also provides a more convenient deployment method, using scripts to generate configuration information and operating environments with one clickinstall.sh
Execute the install.sh script, follow the prompts, and import the necessary information and configurations to run Co-Signer.sgx-build.sh
When deploying Co-Signer in an SGX environment: Execute the sgx-build.sh script, follow the prompts, and install the necessary environment and related configurations for running Co-Signer under SGXAdd Co-Signer Server to the Whitelist
Keysecure needs access to the Co-Signer to create coequal private keys and generate addresses. Therefore, it’s necessary to add the IP of the Co-Signer server to the security group or whitelist of the Keysecure server. Below are the IP addresses for Custody:- Inbound: Allow access from the Keysecure server (IP: 54.254.7.206) to the Co-Signer server on port 28888. Note that port 28888 is the listening port for the Co-Signer program and can be customized.
- Outbound: The Co-Signer server needs to access the Keysecure server, so grant permission to access 54.251.87.91:443.